How to Start a Blog (in 3 Quick Steps)
Have you been putting off blogging because you’re not sure how to start?
All the info and advice out there can be overwhelming, but it really doesn’t take much to just get started.
In fact, you can publish your first blog post within the hour! Just follow the 3 steps below to get started.
Step 1: Get Your Domain & Hosting
The first step to starting a blog is to buy your domain (such as www.example.com) and web hosting. A website that you own and control is much more professional than a free site.
Choose your web hosting company, such as InMotion Hosting:
We recommend InMotion Hosting to new bloggers because of their positive reviews, and because they can install WordPress for you during checkout. WordPress is the #1 most popular blogging software, and it’s 100% free.
For your first blog, choose a lower-priced hosting plan. When your blog traffic grows, you can upgrade to a plan with more resources. Click the “Order Now” button and follow the checkout process.
You can register your domain during checkout. Be sure to choose something short and memorable, and avoid hyphens. While .com is still the top choice for domain extensions, you can choose to pay a bit more for a specialized domain extension such as .community, .cool, .guide, or .tips.
Step 2: Set Up WordPress
This tutorial shows the step-by-step installation of WordPress using InMotion’s one-click installer software called Softaculous, but most web hosting companies — in fact all of our top 10 hosts — use similar methods, so you’ll still be able to follow along.
If you’re going with InMotion, you can skip this step completely if you choose to to have WordPress pre-installed during the checkout process! Just be sure to check the “Install Wordress” option under the “Content Management System Auto-Installer” section:
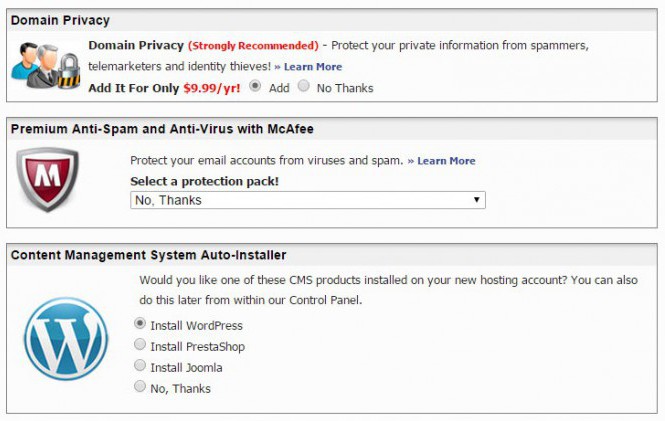
Check “Install Wordress” under the “Content Management System Auto-Installer” heading.
If you’d like to install WordPress yourself, here’s how to do it:
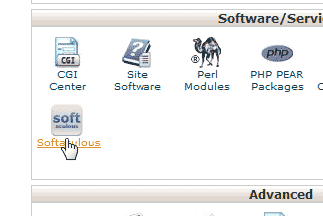
- Log in to your cPanel dashboard through the InMotion website, and click the Softaculous link, under the Software/Services section:
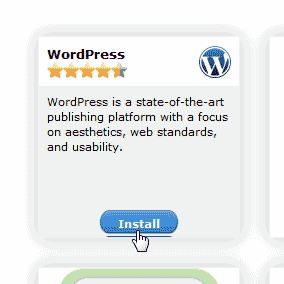
- Click on WordPress, then click the Install button:
- Choose your domain and enter your blog name and a tagline (don’t worry; these can easily be changed later):
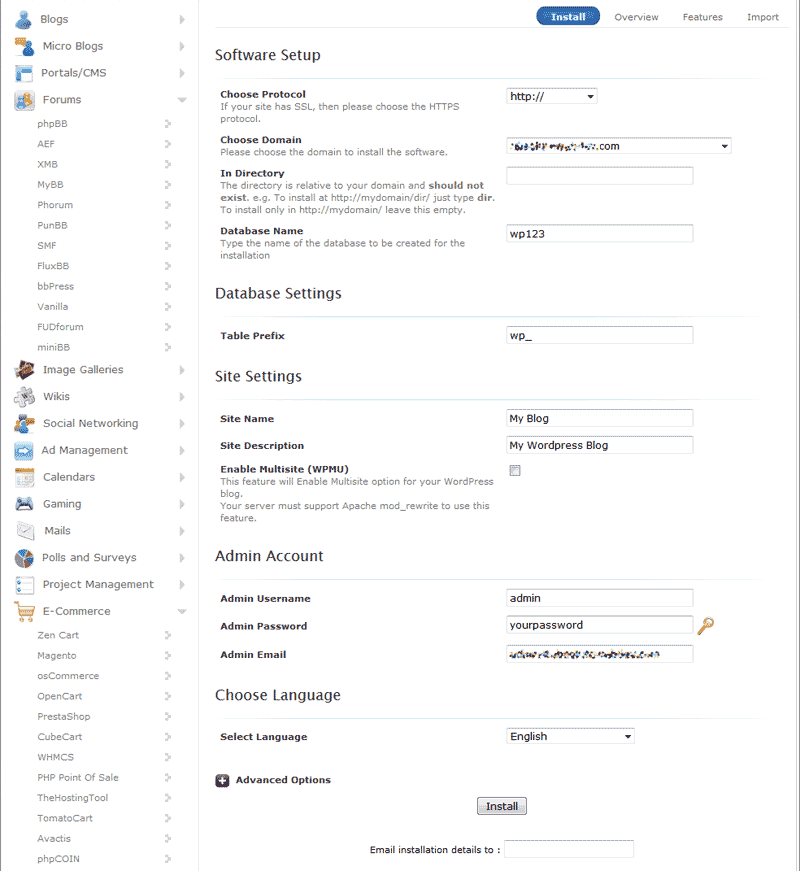
- Create a username and password to log into your WordPress site.
- Click the Install button at the bottom of the form.
To log into your new WordPress blog, click the link to your site’s login page (which you can bookmark if you prefer), and use the username and password you just created.
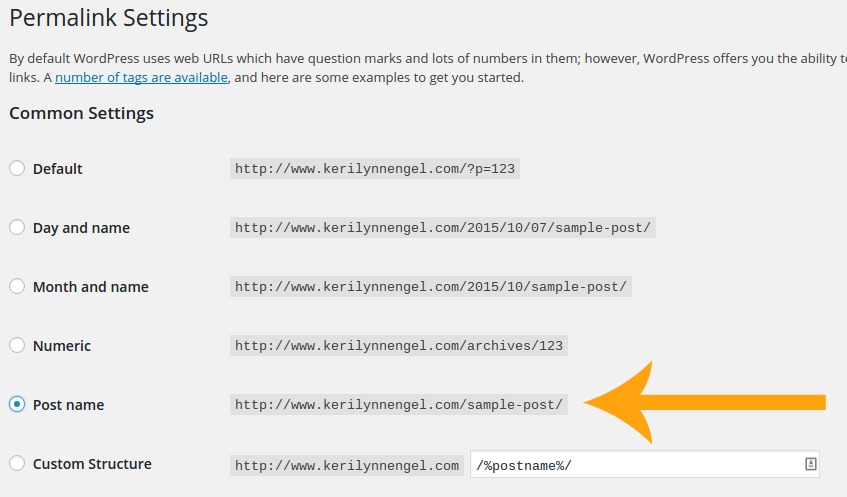
First, make sure your blog posts have readable URLs (such as www.example.com/blog-post-title). Navigate to Settings > Permalinks and choose Post Name, then click Save Changes. Doing this now will save you from potential problems later on.
Your WordPress blog will automatically use the default theme, which you can change under Appearance > Themes.
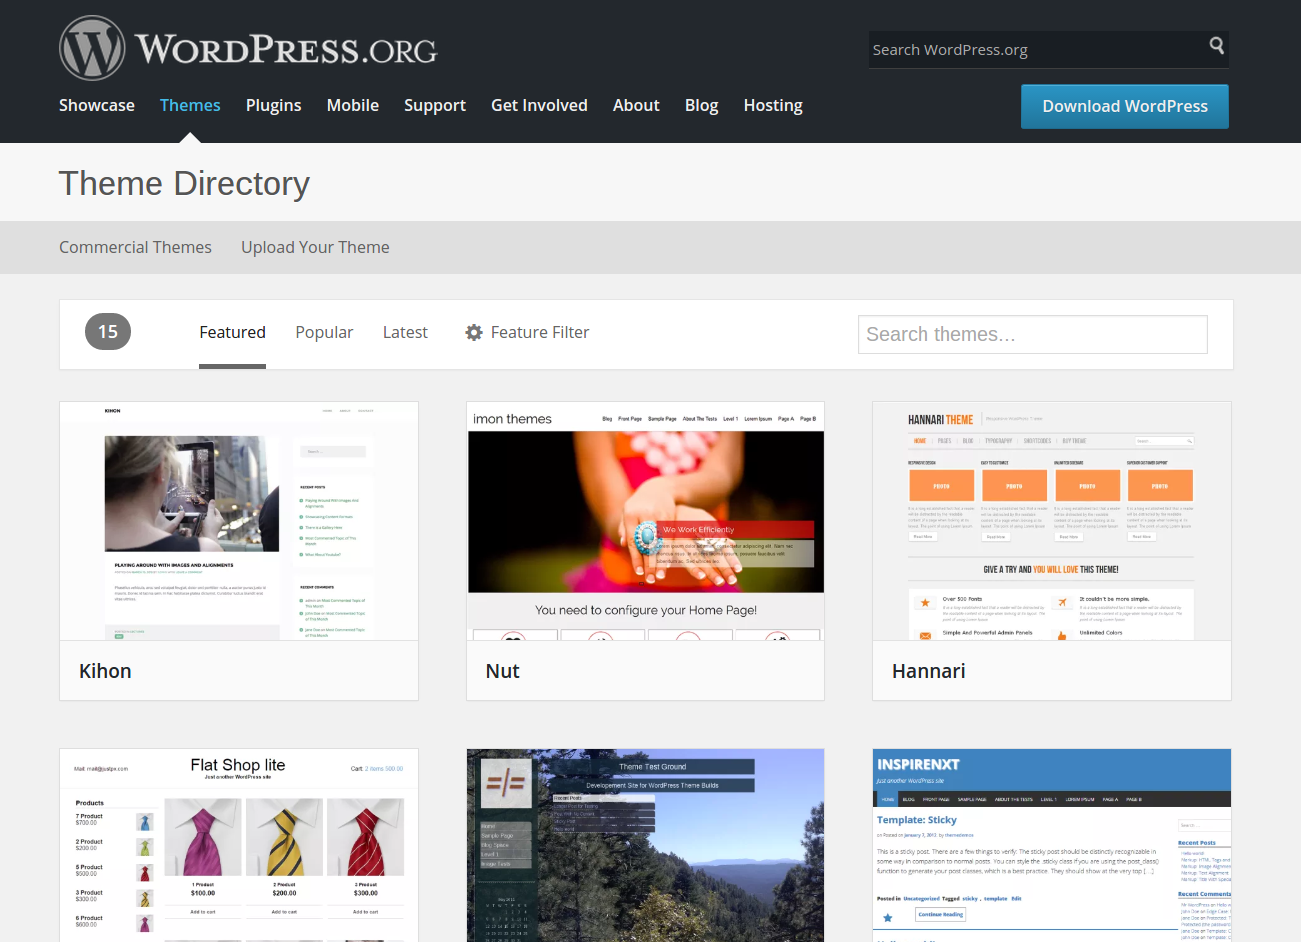
Choose from the free themes available from the WordPress directory, or purchase a premium theme from a reputable marketplace like ThemeForest.
You can also add more features and functions to your WordPress site by adding plugins. We recommend activating Akismet, which comes pre-installed, to moderate spam comments. Other than that, there are thousands of plugins available for free or from marketplaces like CodeCanyon.
Step 3: Add Your First Post
Fresh WordPress installations pre-publish a sample page and sample post. You can delete these by clicking on Posts or Pages in the main menu, and clicking the red Trash link underneath.
Set up an About page and Contact page for your new blog by clicking on Pages > Add New.
To add your first blog post, click on Posts > Add New. You’ll see a text editor where you can type in your blog post:
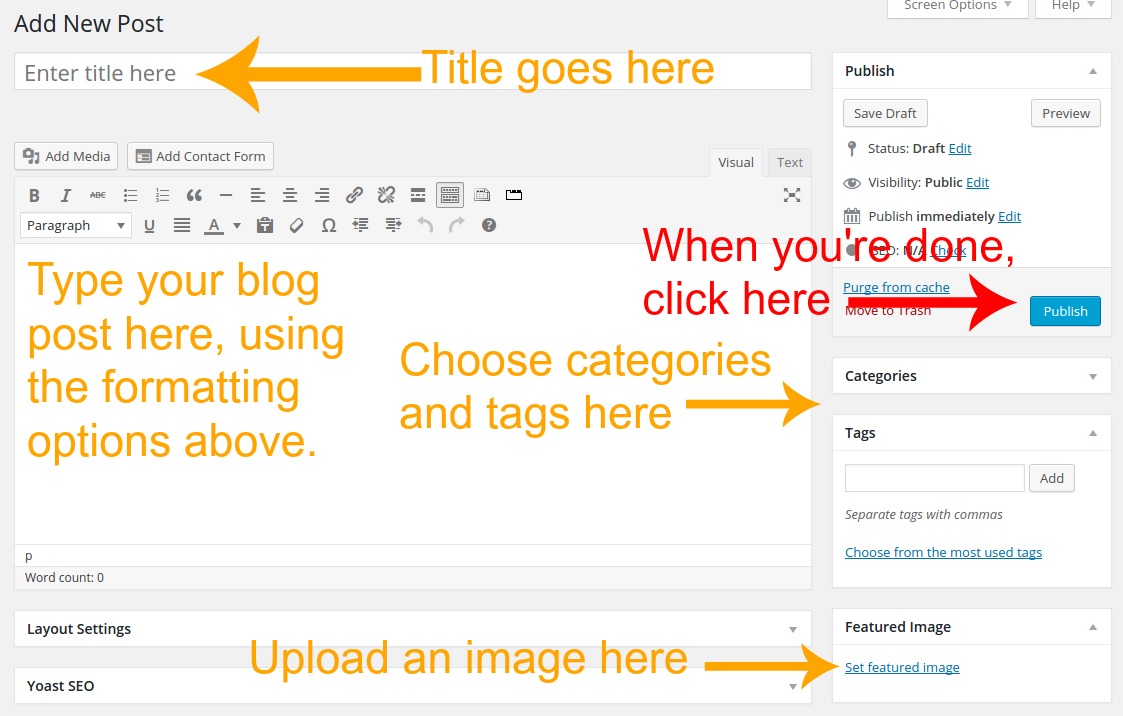
Enter your post title in the first text field at the top of the page.
Type your blog post using the text editor. Use the formatting buttons to add headings, bold and italic formatting, images, and more.
On the right side of the page, create a Category for your new blog post and a few Tags, too.
Under that, set a featured image to appear at the top of the blog post (depending on your theme).
When you’re ready, hit the blue Publish button, and your post will be live!
Share your blog post on your favorite social media networks to attract your first readers.
Congratulations!
That’s it, you’re now officially a blogger!
Continue blogging on a regular schedule to keep your readers interested, and share each post on social media. Interact with other bloggers who write on similar topics in order to network and grow your audience, and avoid common blogging mistakes.
Need More Help?
Check out our Ultimate Guide to Bloggeing: a complete beginner’s guide that will walk you though every step of creating, maintaining, and promoting your blog:
Click above to view or download PDF
Join our newsletter & be first to hear when we publish new posts.


Discussion
What Do You Think?